
OpSpot Blog
Software Features & Updates
Site Checklists, Photo Proof and QR Code Check-Ins for Builders
13 October 2026



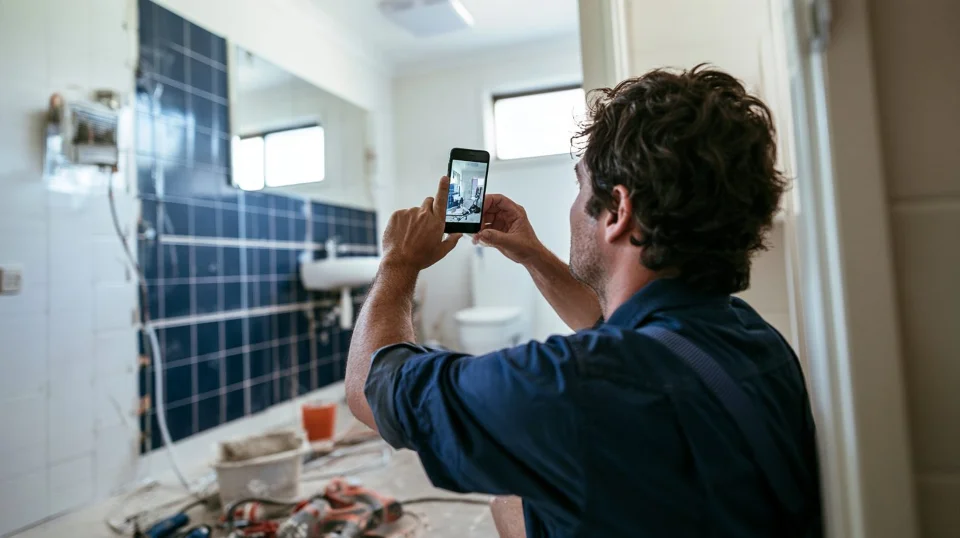
"Was the waterproofing done before the tiles went down?" "Who was on site on Tuesday?" On a renovation or fit-out, those questions come up at handover, in a defect claim, or when a client disputes a variation. The answer is usually somewhere in a group chat.
OpSpot keeps the proof on the job itself:
- checklists that every booking follows, reused from templates
- photos required before key items can be ticked off
- check-ins with time and GPS location, for your crew and subcontractors on a booking, and for anyone arriving on site by scanning a QR code
At a glance
- Build checklist templates once (for example "Bathroom waterproofing" or "Office make good").
- Load a template into a booking and mark the items that need a photo.
- The crew checks in on the booking: instructions, time, GPS location and photos are recorded.
- Print the project's QR code for the site entrance. Staff, subcontractors and visitors scan it to sign in.
- When every item on a booking is ticked, OpSpot notifies the right people.
Step 1: Build reusable checklist templates
Most jobs repeat the same checks. Save them as checklist templates: a named list of items, with files attached if needed (a method statement, a spec sheet, a set-out drawing).
Good templates for renovation and fit-out builders:
- Bathroom waterproofing: substrate clean and dry · bond breakers installed · membrane coats applied · flood test done
- Office make good: patch and paint walls · remove signage fixings · clean carpets · restore ceiling tiles · final photos of every room
- Pre-sheeting inspection: services in walls · noggins for fixtures · insulation in place
Step 2: Load the checklist into a booking and require photos
Open a booking's checklist, pick a template, and adjust it for this job. You can also pull labour lines straight from the project's scope (see Work orders and subcontractor payments).
For any item where you need evidence, tick file upload required. The person on site can't tick that item off until they attach a photo or file. Each completed item records who completed it and when, and keeps its photos with the job.
Step 3: Check in on the booking
Give each booking check-in instructions: access codes, parking, PPE, or "sign the SWMS before starting". You can load the instructions from a template. When your crew or subcontractors arrive, they check in from their phone. OpSpot records:
- who checked in, and when
- their GPS location
- any photos or files they attach, such as the site condition on arrival
Step 4: QR code sign-in for the whole site
Every project can have its own site check-in QR code:
- In the project's check-in settings, write the check-in instructions (site rules, induction notes, the manager to report to) and generate the QR code.
- Print it and put it at the site entrance.
- Anyone arriving scans it with their phone camera:
- Staff and subcontractors with an OpSpot login check in as themselves.
- Visitors (clients, inspectors, delivery drivers) check in as a guest with their name and mobile number. No app or account needed.
- Each check-in records the time and GPS location, and shows the visitor the project manager's contact details.
That gives you a site attendance register for every project, without a paper sign-in book at the gate. Need to retire a QR code? Delete it. It stops working immediately, even if someone still has the printed copy.
Step 5: Get notified when a checklist is done
When the last item on a booking's checklist is ticked, OpSpot can notify the people in your team who need to know (such as the project manager or the office), based on your notification settings. You don't have to chase "is it finished?".
Example: medical fit-out
| Where | What OpSpot records |
|---|---|
| Site entrance | QR sign-in for trades and the client's facilities manager: names, times, GPS |
| Booking: wall framing | Checklist with photo required for in-wall services and nogging before sheeting |
| Booking: make good | "Office make good" template with photo required for every room |
| Handover | Every item with who, when and photos, ready if the landlord questions the make good |
Example: bathroom renovation
| Where | What OpSpot records |
|---|---|
| Booking: waterproofing | Check-in with GPS and an "on arrival" photo; photo required for the membrane and flood test |
| Booking: tiling | Tiler checks in; before tiling starts, you confirm the waterproofing items were completed with photos |
| Client visit | Homeowner signs in as a guest with the QR code at the front door |
FAQ
Do visitors need the OpSpot app to sign in? No. Visitors scan the QR code with their phone camera and check in as a guest with their name and mobile number.
Is the GPS location reliable enough to prove someone was on site? OpSpot records the location the phone reports at check-in, alongside the time and the person. Combined with photos, that's usually far stronger evidence than a paper sign-in sheet.
Can I stop someone ticking off work without evidence? Yes. Mark the item file upload required. It can't be completed without a photo or file.
What happens if a QR code poster gets copied or goes missing? Delete the project's QR code. It stops working immediately. Generate a new one and print it.
Can I reuse my existing checklists? Yes. Recreate them once as checklist templates (with any documents attached) and load them into bookings from then on. Ask us during onboarding and we'll help you bring them across.